How to configure Microsoft Edge IE Mode with a Cloud Sites List using Intune
With Internet Explorer now out of support and it’s imminent removal from Windows, its time for organisations to move any remaining legacy workflows and applications from Internet Explorer over to IE Mode within Microsoft Edge.
We have always been able to manage IE mode using an Enterprise Sites List but recently Microsoft have created a way to cloud natively manage this using a new feature called Cloud Site List Management for IE mode.
Prerequisites
The following prerequisites apply to this feature.
- Customers must have an Azure AD tenant.
- Admins must have Microsoft Edge version 93 or greater installed and the latest version of the policy files.
- Admins need to be an Microsoft Edge Administrator or a Global Administrator on the tenant to access the Microsoft Edge site lists experience.
Configure a cloud enterprise sites list
The first step in the process is to configure and publish your enterprise sites list with a list of websites you want to display in IE mode.
To manage the cloud sites list, we need to login to the Microsoft 365 admin portal, navigate to settings, then org settings, then from the list, select Microsoft Edge Site List.

Create a new sites list
On this page you can create any number of sites lists you may need. To create a new sites list, select the + Create a new list button, enter a name and descriptions for the list, then select Create followed by Close panel.
You can see the new sites list has been created and has a published status of Unpublished draft.
Selecting the selection box next to the sites list presents you with additional options including edit, delete, publish, import, export, preview export, and clone the site list.

The import option is extremely useful if you’re already managing an enterprise sites list sites.xml file using the Enterprise Mode Site List Manager tool. You can simply upload the contents of that file directly into the selected list.
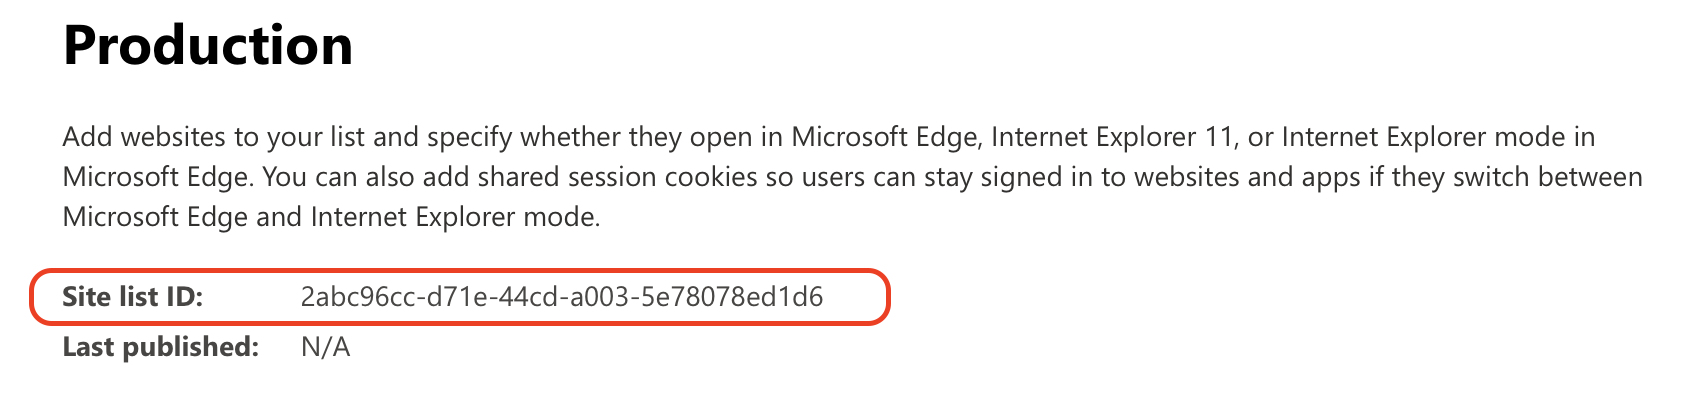
Manage your sites list
Click on the name of a list to start managing its content. Once you’re within your list, you can see the site list ID at the top of the page - we will need to reference this later within the Intune policy.
To add a new site to the list, select Add a site. You will then be asked to enter the site address, how you want to open the site, in what compatibly mode should the site be rendered, if you want to allow redirects, whether the site address uses no merge as the merge type, and any comments you want to add for version control purposes.
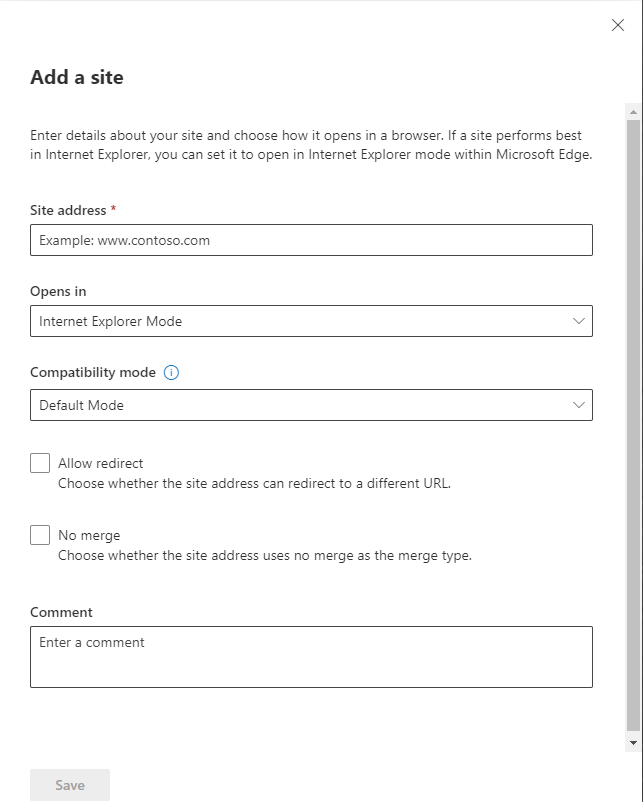
The Opens in section gives a number of options to specify in which browser the website will open:
- IE11 - Opens the site in the IE11 application.
- IE mode - Opens the site in Internet Explorer mode on Microsoft Edge if enabled and in the IE11 app otherwise.
- MSEdge - Opens the site in Microsoft Edge.
- Configurable - Allows the site to participate in IE mode engine determination.
- None - Opens in whatever browser the user chooses.
Compatibility mode lets you chose in which mode IE should rendered the page:
- IE8Enterprise. Loads the site in IE8 Enterprise Mode.
- IE7Enterprise. Loads the site in IE7 Enterprise Mode.
- IE[x]. Where is the document mode number and the site loads in the specified document mode.
- Default Mode. Loads the site using the default compatibility mode for the page.
Allow redirects - applies to the treatment of server-side redirects. If you check this box, server-side redirects will open in the same browser specified by the opens-in tag.
No merge - For an end-user, when a new browser window is launched from an IE mode application, it will be in a separate session, similar to the no-merge behaviour in IE11. You will need to adjust your site list to configure sites that need to prevent session sharing as “no-merge”. Behind the scenes, for each window of Microsoft Edge, the first time an IE mode tab is visited within that window, if it is one of the designated “no-merge” sites, that window is locked into a different “no-merge” IE session from all other Microsoft Edge windows at least until the last IE mode tab is closed in that window. This follows previous behaviour where users could launch IE with no-merge and could also launch Microsoft Edge without no-merge via other mechanisms.
Once you have added your site and configured the required settings, press the Save button, review your configuration, and cross off the side panel to be taken back to your sites list page. You can see that the site we have just added shows with a status of Addition pending.
Selecting the box next to an already added site, gives you multiple options for managing your selection. You’re able to edit, delete, directly publish, view versioning history or copy to a different sites list.

Publish your sites list
Once you are happy with the contents of your sites list, the next step is to publish it. To publish a site list, navigate to Microsoft Edge site lists page, select the box next to the list you want to publish, select Publish sites list, enter a version number, select Publish again, then Close panel. You will now see the status change to All changes published.
Navigating into the list itself we can see the status of our added site has changed from Addition pending to All changes published.
After publishing a site list the first time and applying the accompanying policy, you will need to restart Microsoft Edge for the configuration to take affect. When publishing updates to already associated sites list, the client refreshes every 60 seconds.
Create the Intune policy
Now we have a sites list created and published, we need to create a configuration profile in Intune to tell Edge to use the new cloud sites list.
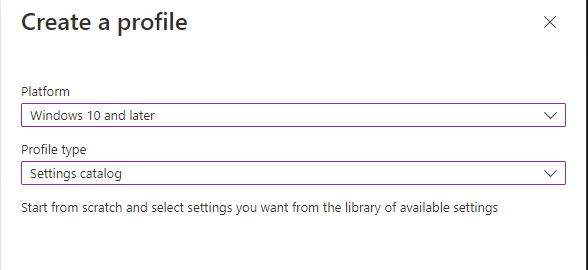
On the create a profile page select the platform Windows 10 and later with a profile type of Settings catalog. Select Create to continue.
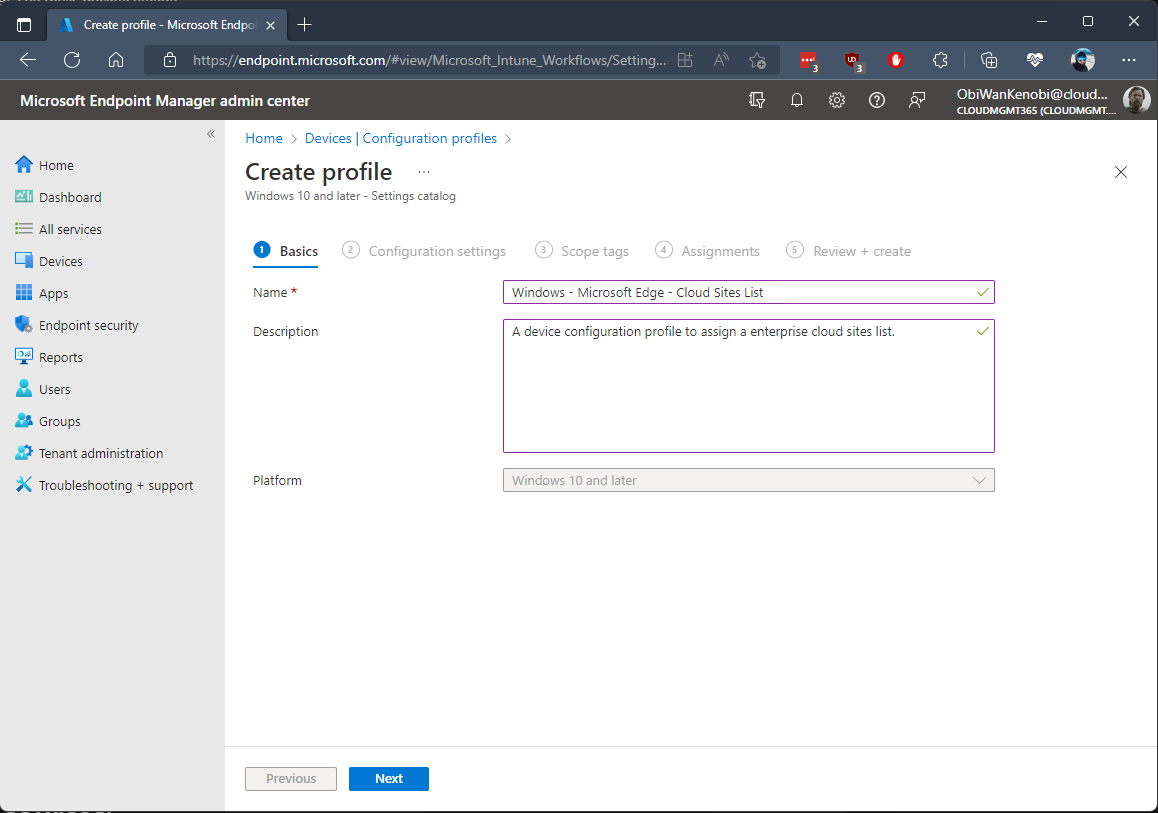
Give the profile a name and description and select, Next.
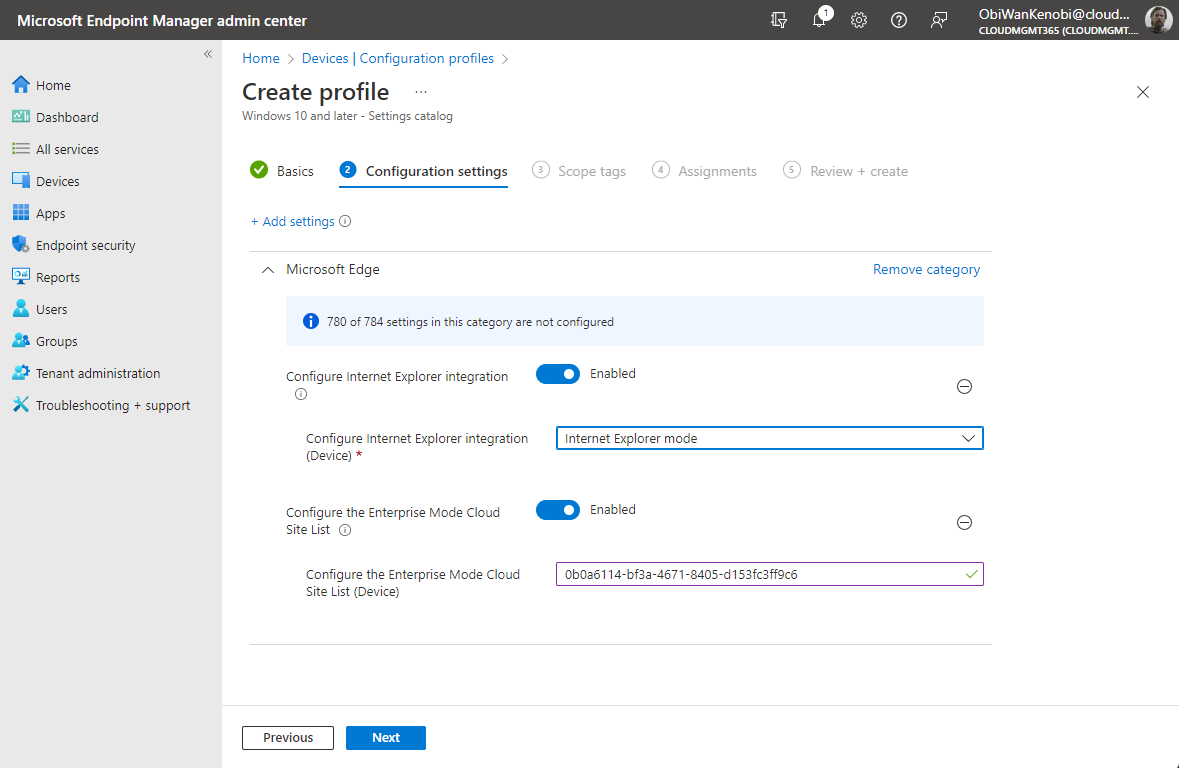
We need to configure the InternetExplorerIntegrationCloudSiteList policy. This policy also has a dependency on the InternetExplorerIntegrationLevel policy so we need to ensure this is also configured. On the Configuration settings page select +Add settings.
Search for “Configure the Enterprise Mode Cloud Site List”, select the Microsoft Edge category then select the Configure the Enterprise Mode Cloud Site List policy (either device or user). Now search for “Configure Internet Explorer integration”, select the Microsoft Edge category then select the Configure Internet Explorer integration. Cross off the side panel to configure the selected policies.
Set the Configure Internet Explorer integration policy to Enabled, then from drop down select Internet Explorer Mode.
Set the Configure the Enterprise Mode Cloud Site List policy to Enabled and paste the Site List ID from the required cloud sites list into the field. Select Next to continue.
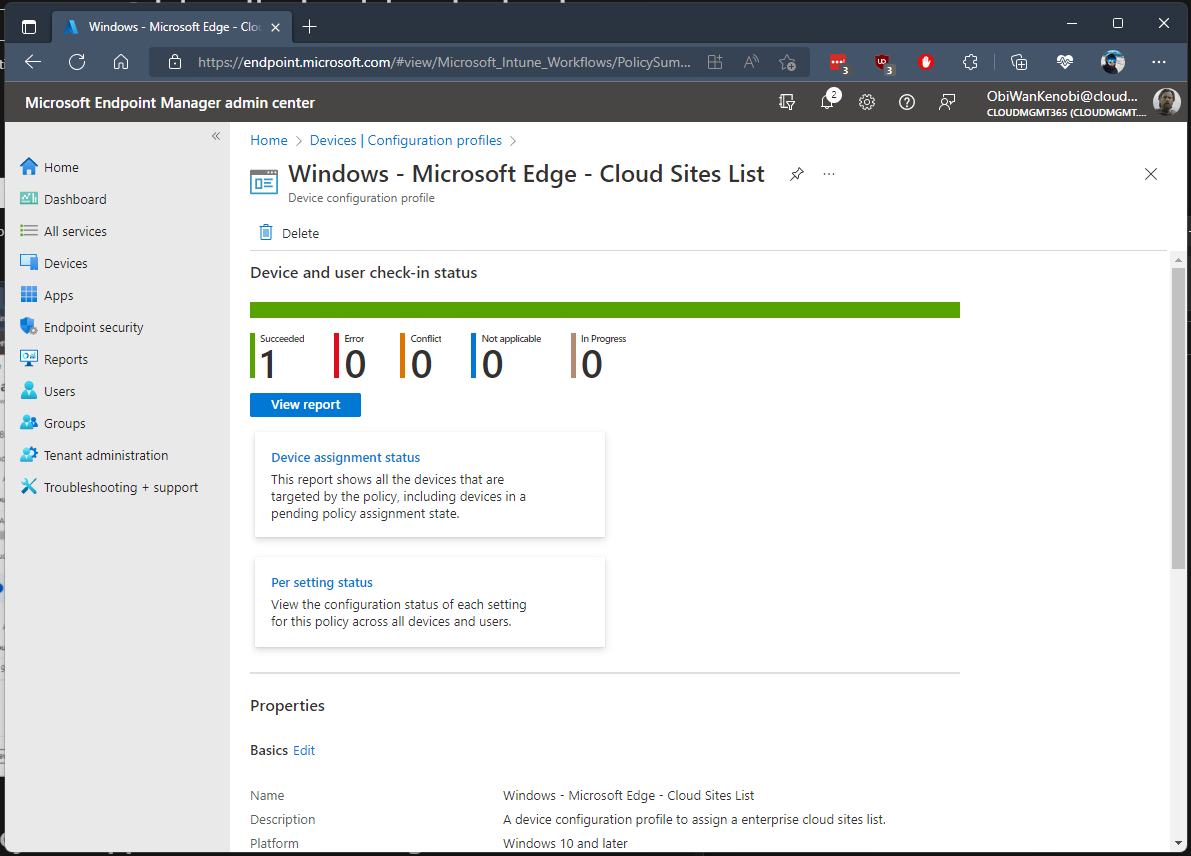
Configure the scope if needed and assign your policy to the required groups. Review the summary then select create.
Users must be signed in to Microsoft Edge for the client to consume the site list from the cloud. You can configure the “Force users to sign-in to use the browser” and “Configure whether a user always has a default profile automatically signed in with their work or school account” policies to keep users signed in with their M365 account.
Confirm policy has applied in Microsoft Edge
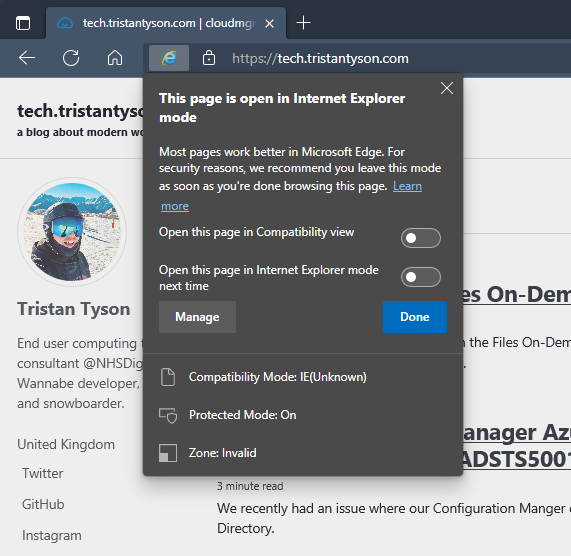
Once the policies are deployed and the devices are synced, you can check within Microsoft Edge itself to make sure the policies are applied.
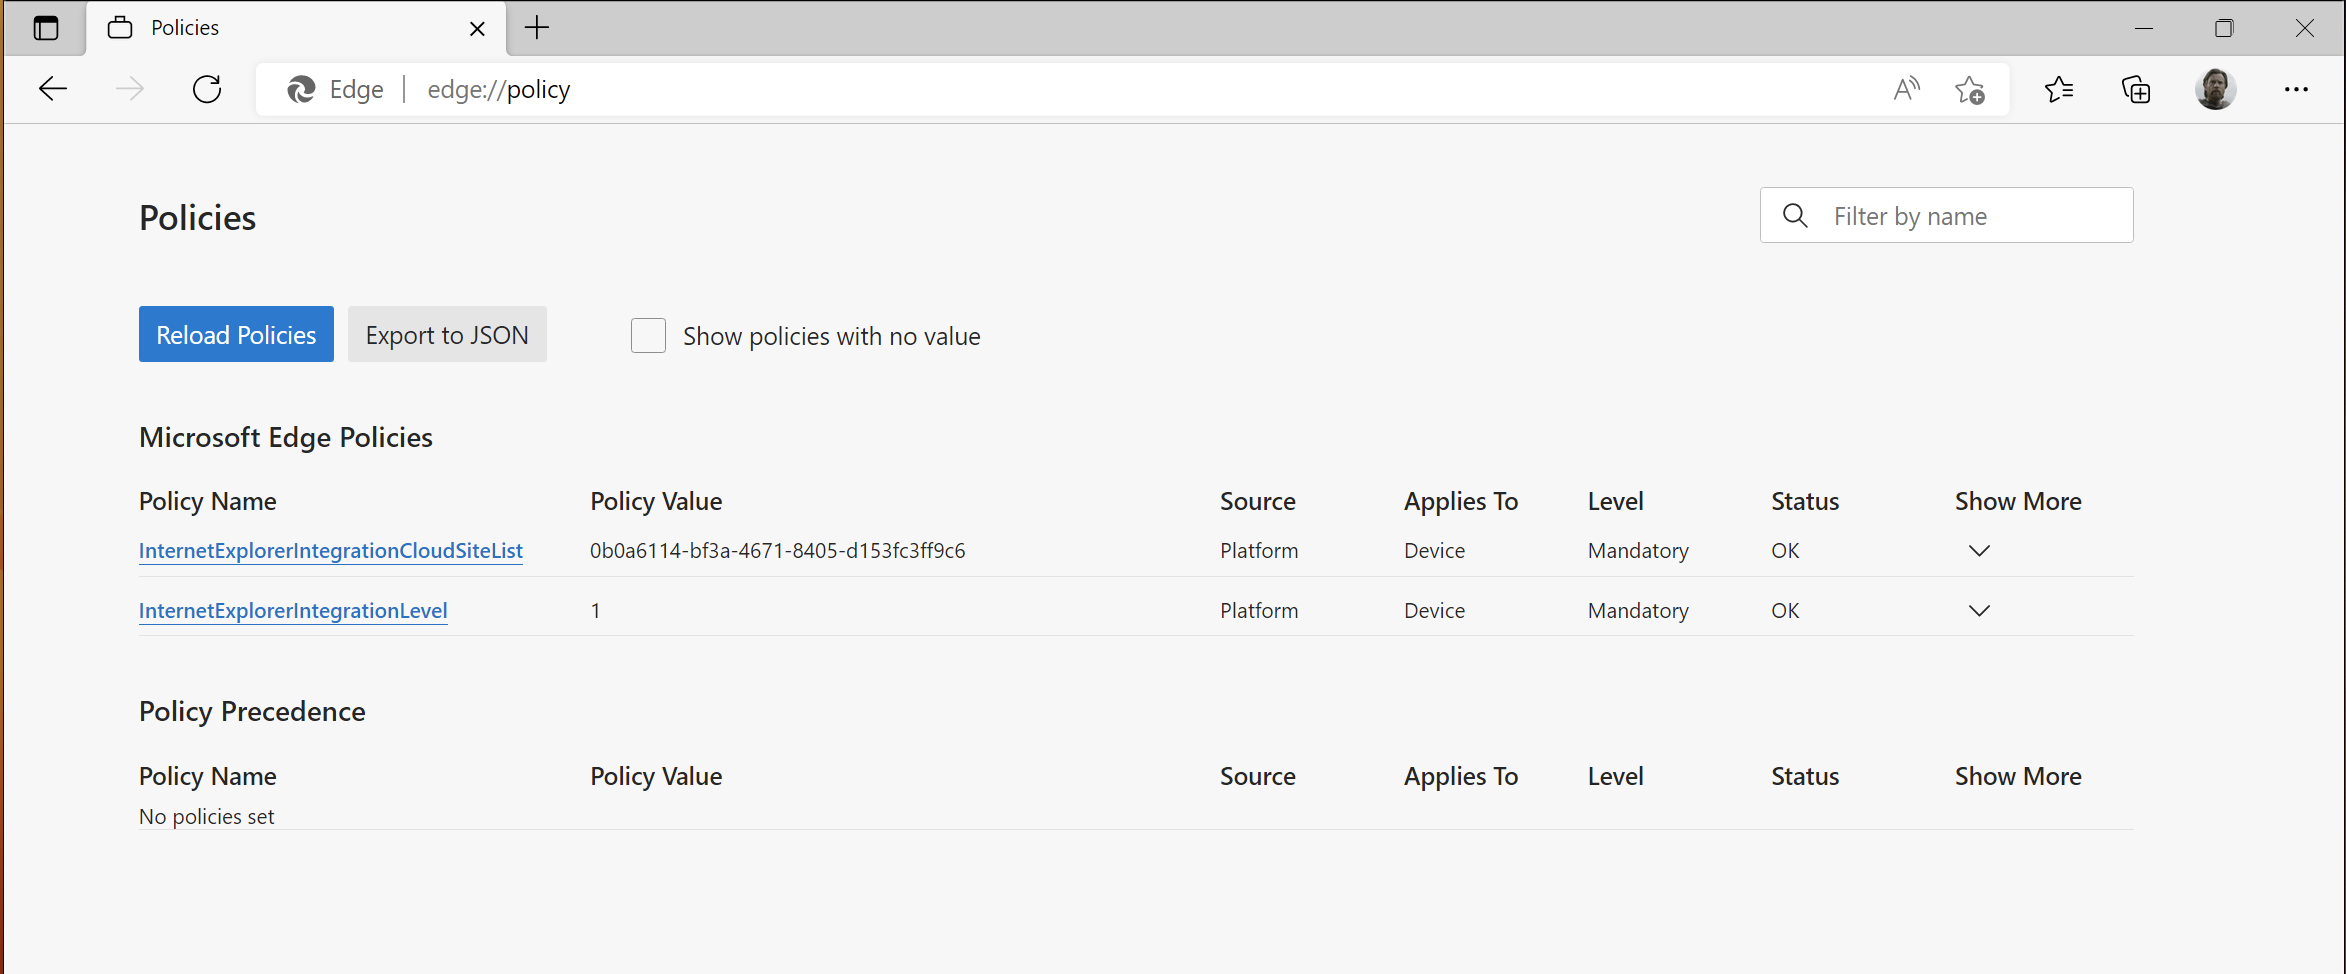
Open an Edge browser session and navigate to the URL edge://policy. Here you can see a list of all the policies which are being applied. Make sure the InternetExplorerIntegrationCloudSiteList and InternetExplorerIntegrationLevel policies are showing with the correct values.
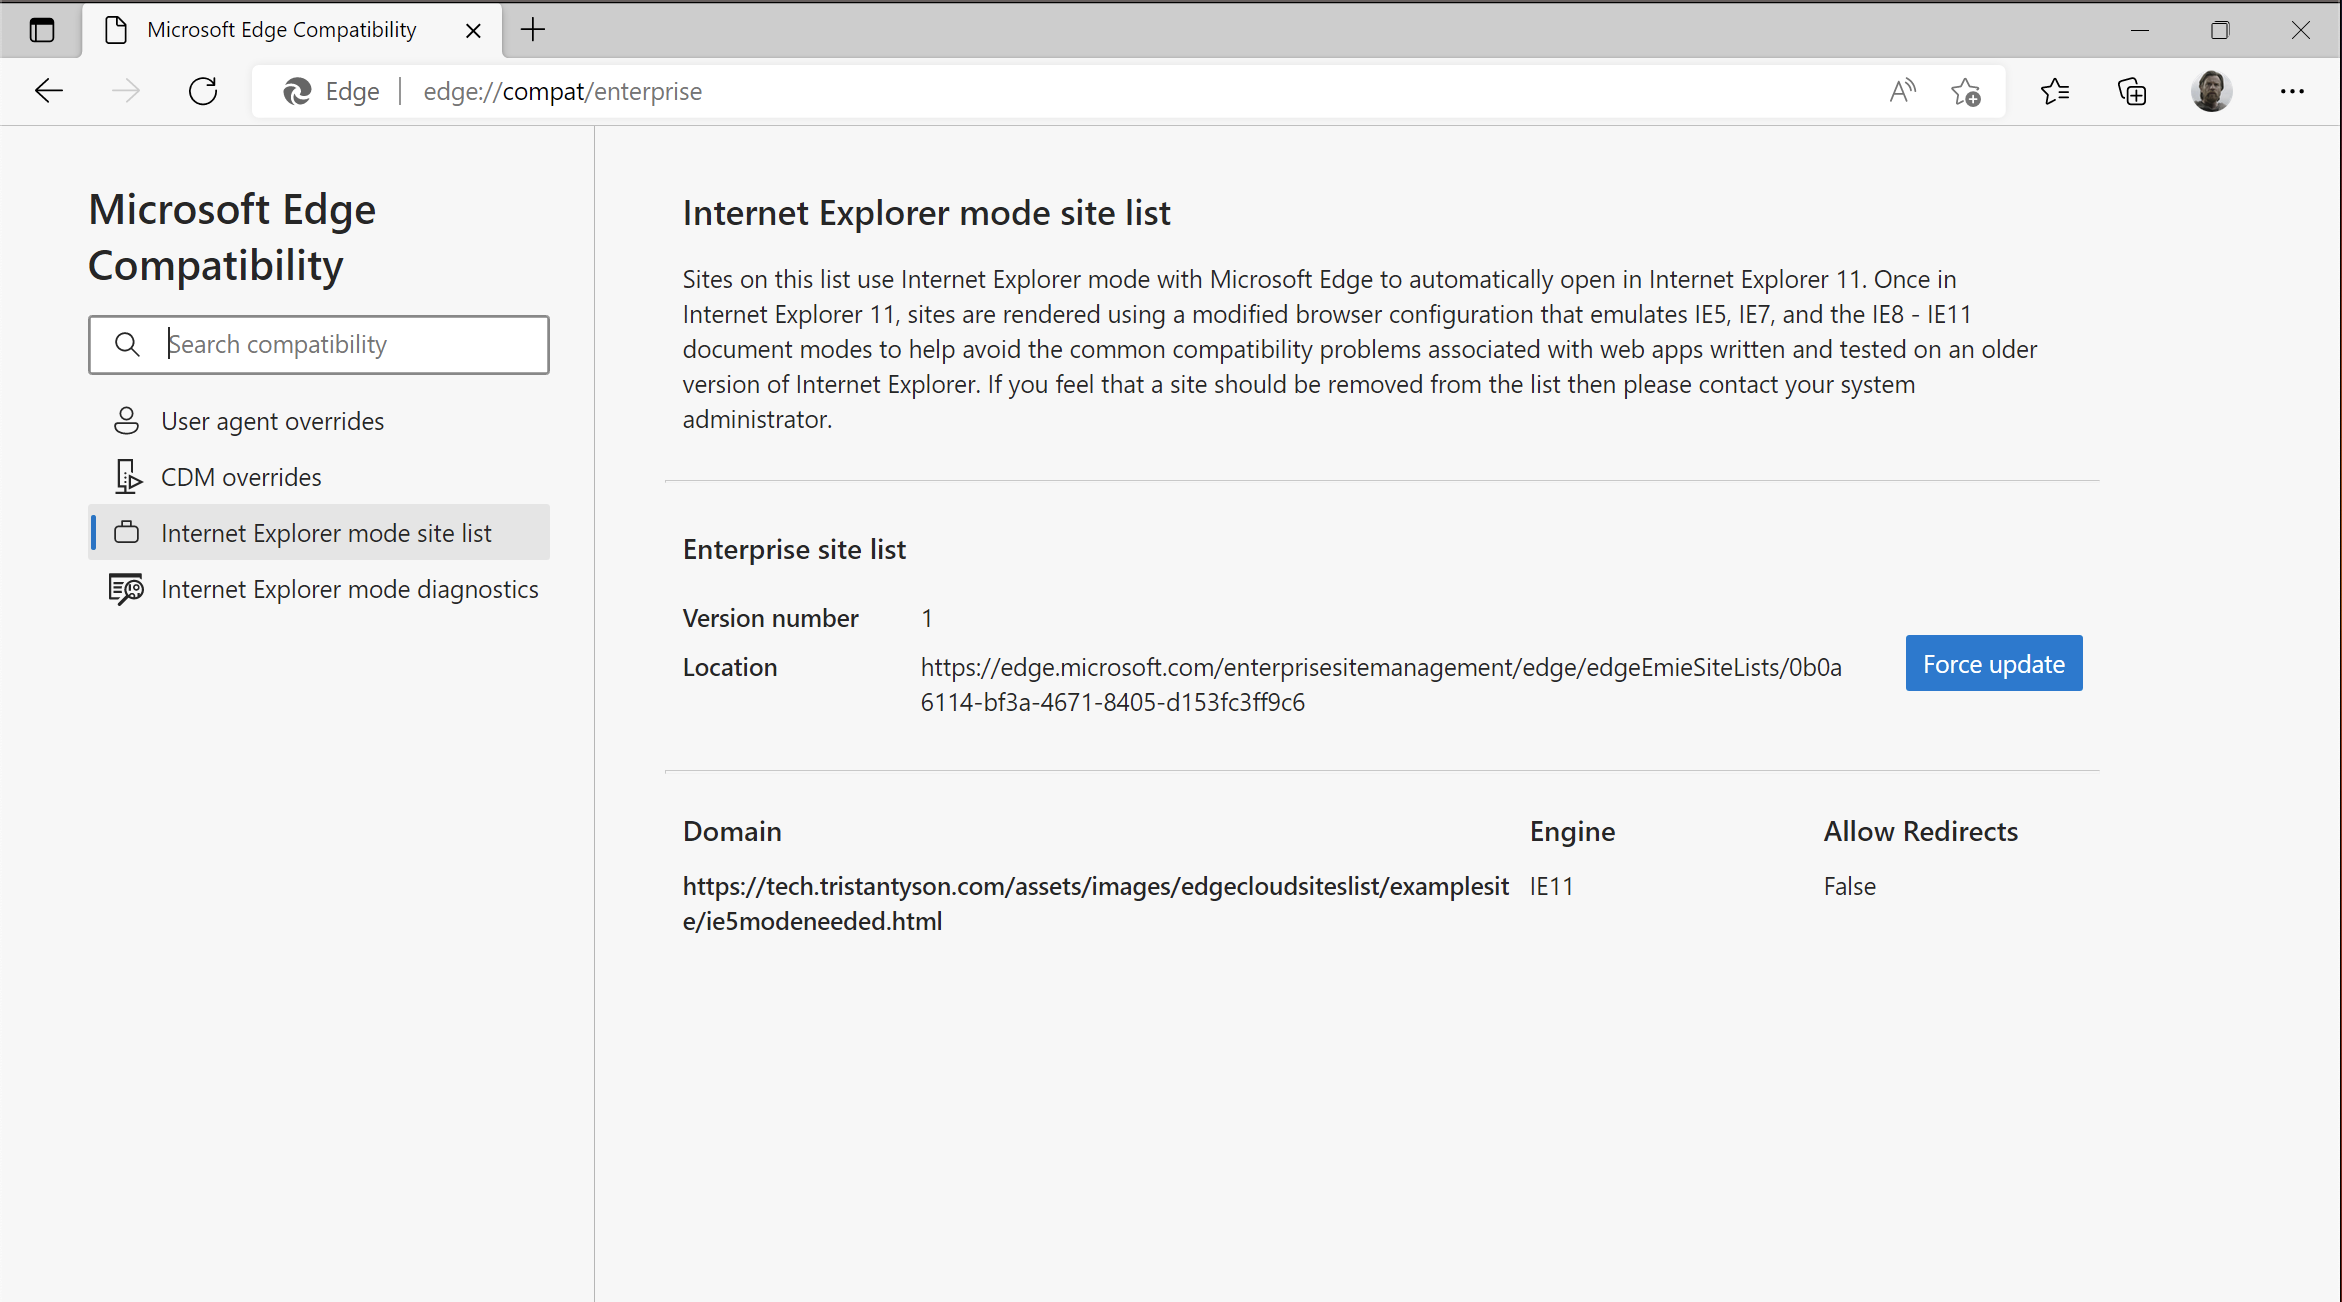
Next navigate to the URL edge://compat. Here we can see all the internet explore site mode configuration directly on the device. This page shows you the sites list version and location, as well as giving you the option to Force update any newly published site list versions. You can also see the entries of your sites list are displayed.
Conclusion
Now you have everything in place, any websites you visit which are listed on the enterprise sites list, will be displayed in IE Mode in the defined compatibility mode.
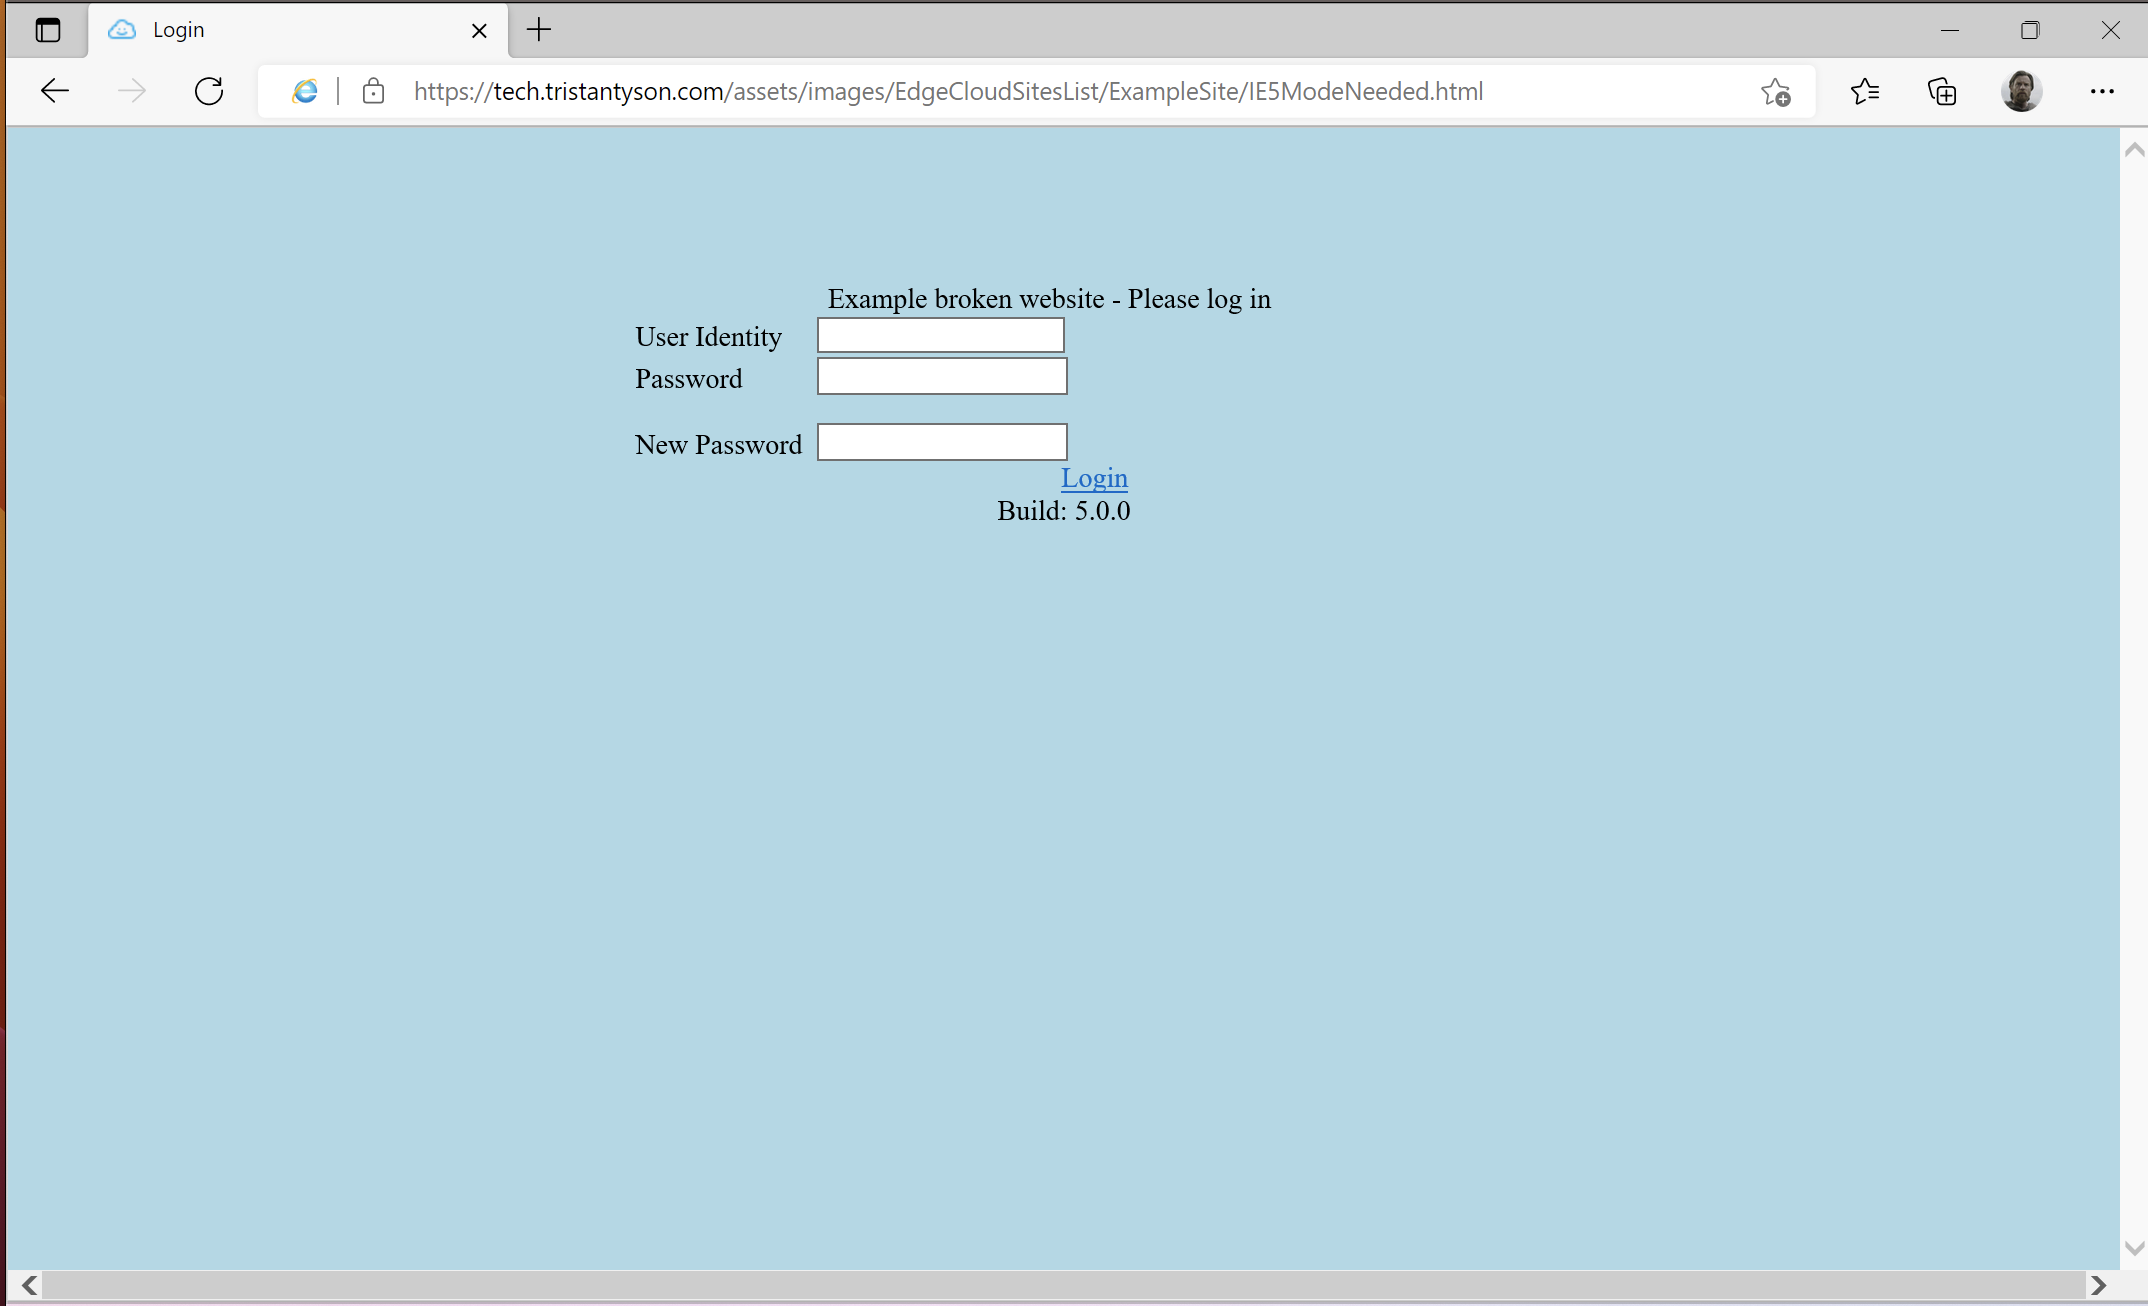
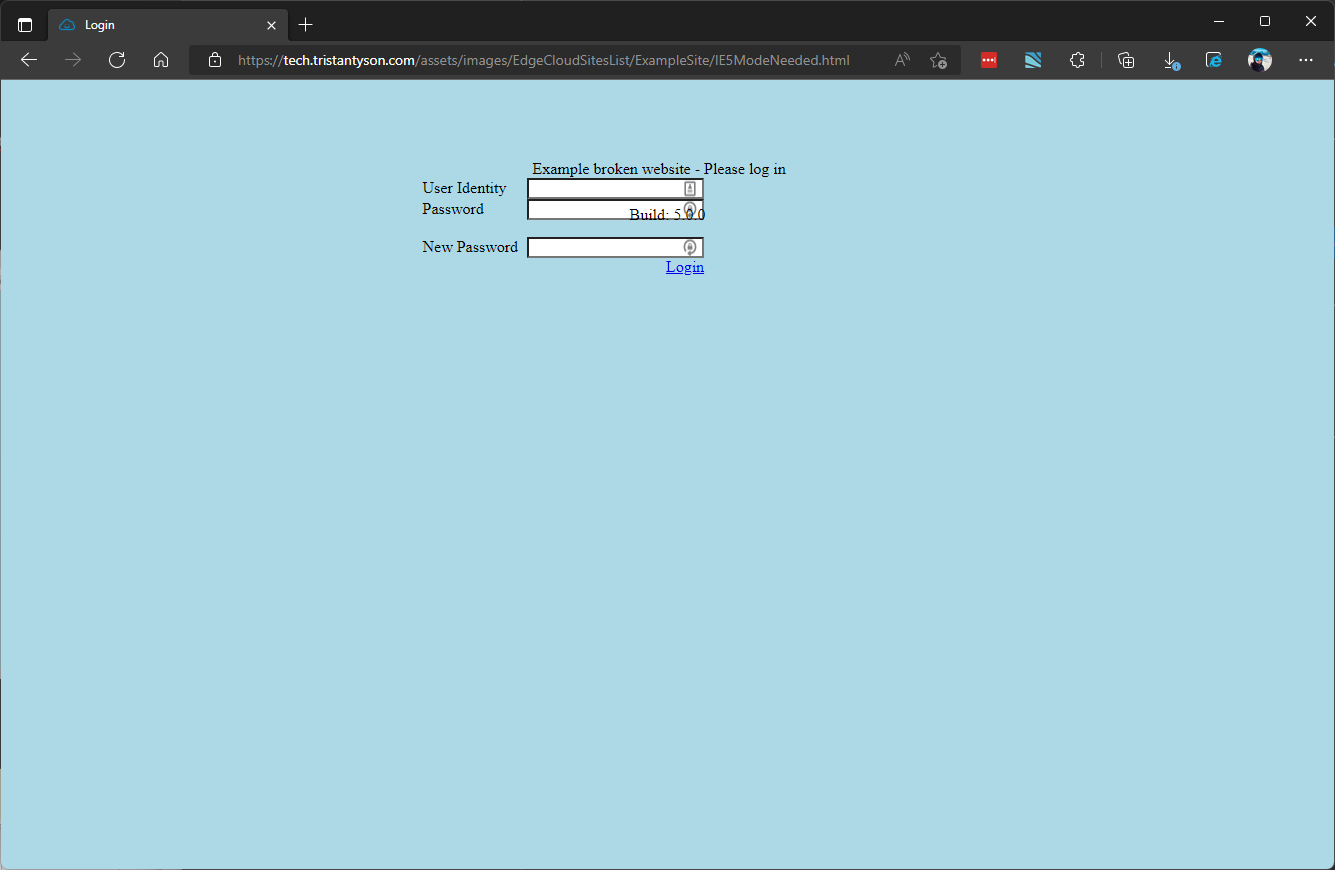
I have an example site here which only renders correctly in IE5 mode.
Here is the site running in standard Microsoft Edge. We can see the text formatting is not displayed correctly and overlapping the input fields.
Here is the site running in IE Mode, as depicted by the Internet Explorer icon to the left of the address bar. The website is running in IE5 compatibility mode and all text is rendered correctly.