Deploy VMware Tools via Microsoft Endpoint Manager/Intune
When designing and developing solutions using Microsoft Endpoint Manager, I tend to provision a lot of virtual machines. This gives me a quick and disposable way to test my solutions before moving on to physical devices. It also helps me to not ruin my own device by testing on myself!
My hypervisor of choice is currently VMware Workspace (or VMware Fusion if I’m on a Mac), but I also have a vSphere cluster for testing at my place of work. To take advantage of all the functionality a virtual machine offers, you need to ensure you have installed the VMware Tools Agent.
This blog will explain how to package and automatically deploy the VMware Tools agent to all VMware based virtual machines in your environment.
Create a dynamic Azure Active Directory group which targets VMware based virtual machines
As the agent will only ever need to be installed onto VMware based virtual machines, we can create an Azure AD security group with a dynamic rule to only target VMware based machines. That way we can use this group to deploy the agent, only where it is required.
To create a new Azure Active Directory group, log into the Azure Portal, search for Azure Active Directory, select Groups, then choose New group.
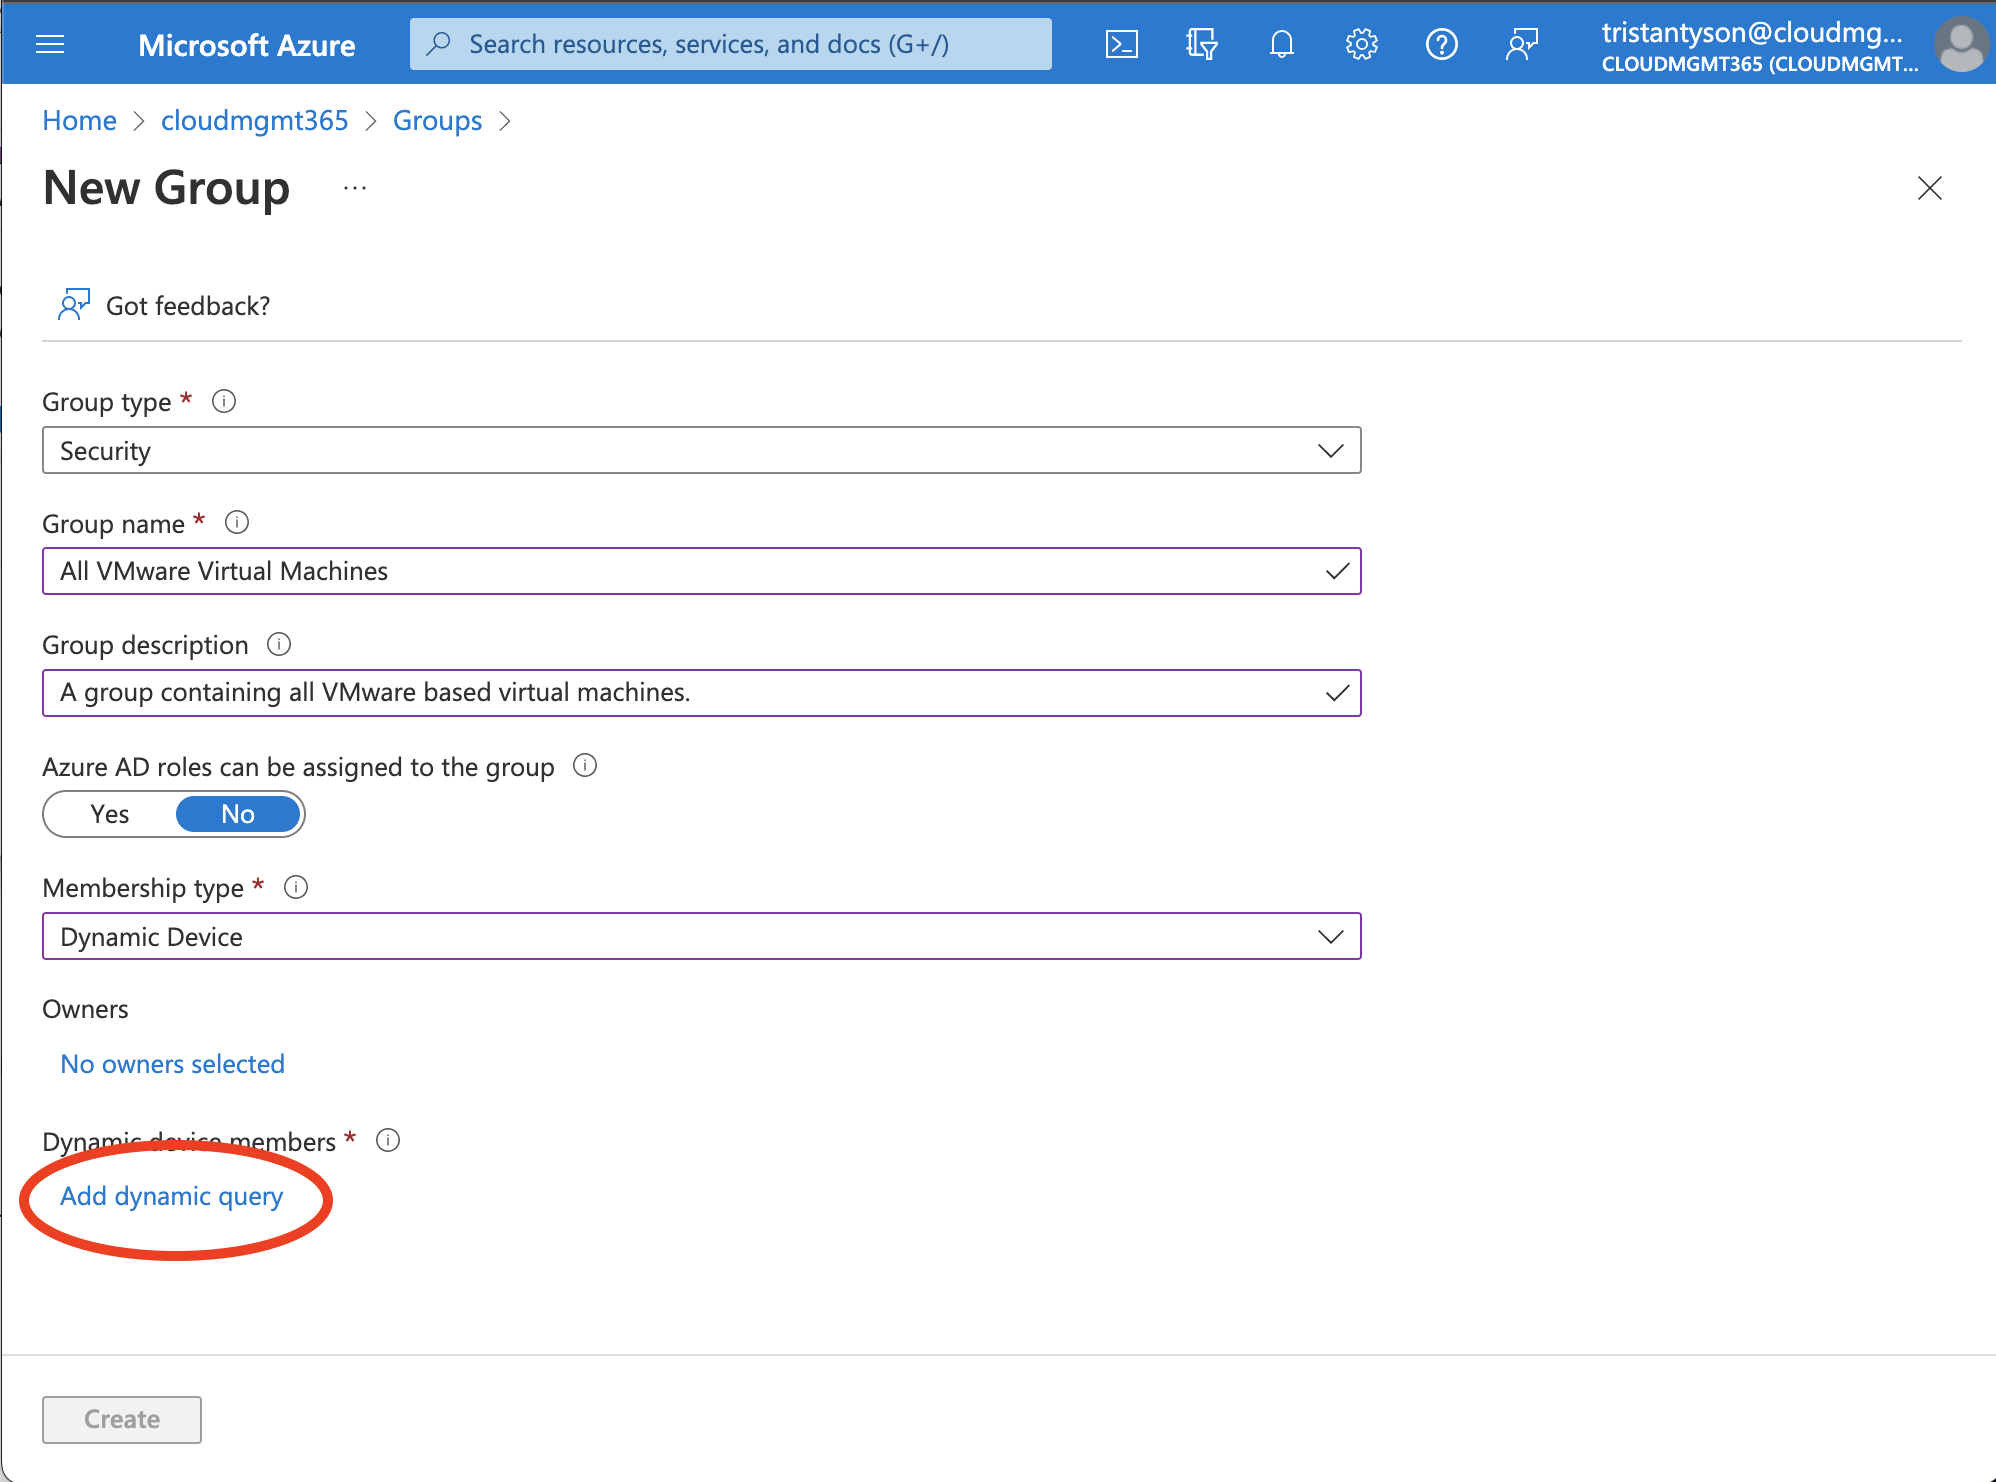
Fill out the new group information
Group type: Security.
Group name: All VMware Virtual Machines.
Group descriptions: A group containing all VMware based virtual machines.
Azure AD roles can be assigned to the group: No.
Membership type: Dynamic Device.
Once you’ve filled out the fields, select Add dynamic query.
The best way to target only VMware virtual machines, is to use the deviceManufacturer property, with an operator of Equals, and a value of VMware, Inc..
Rule syntax:
(device.deviceManufacturer -eq "VMware, Inc.")
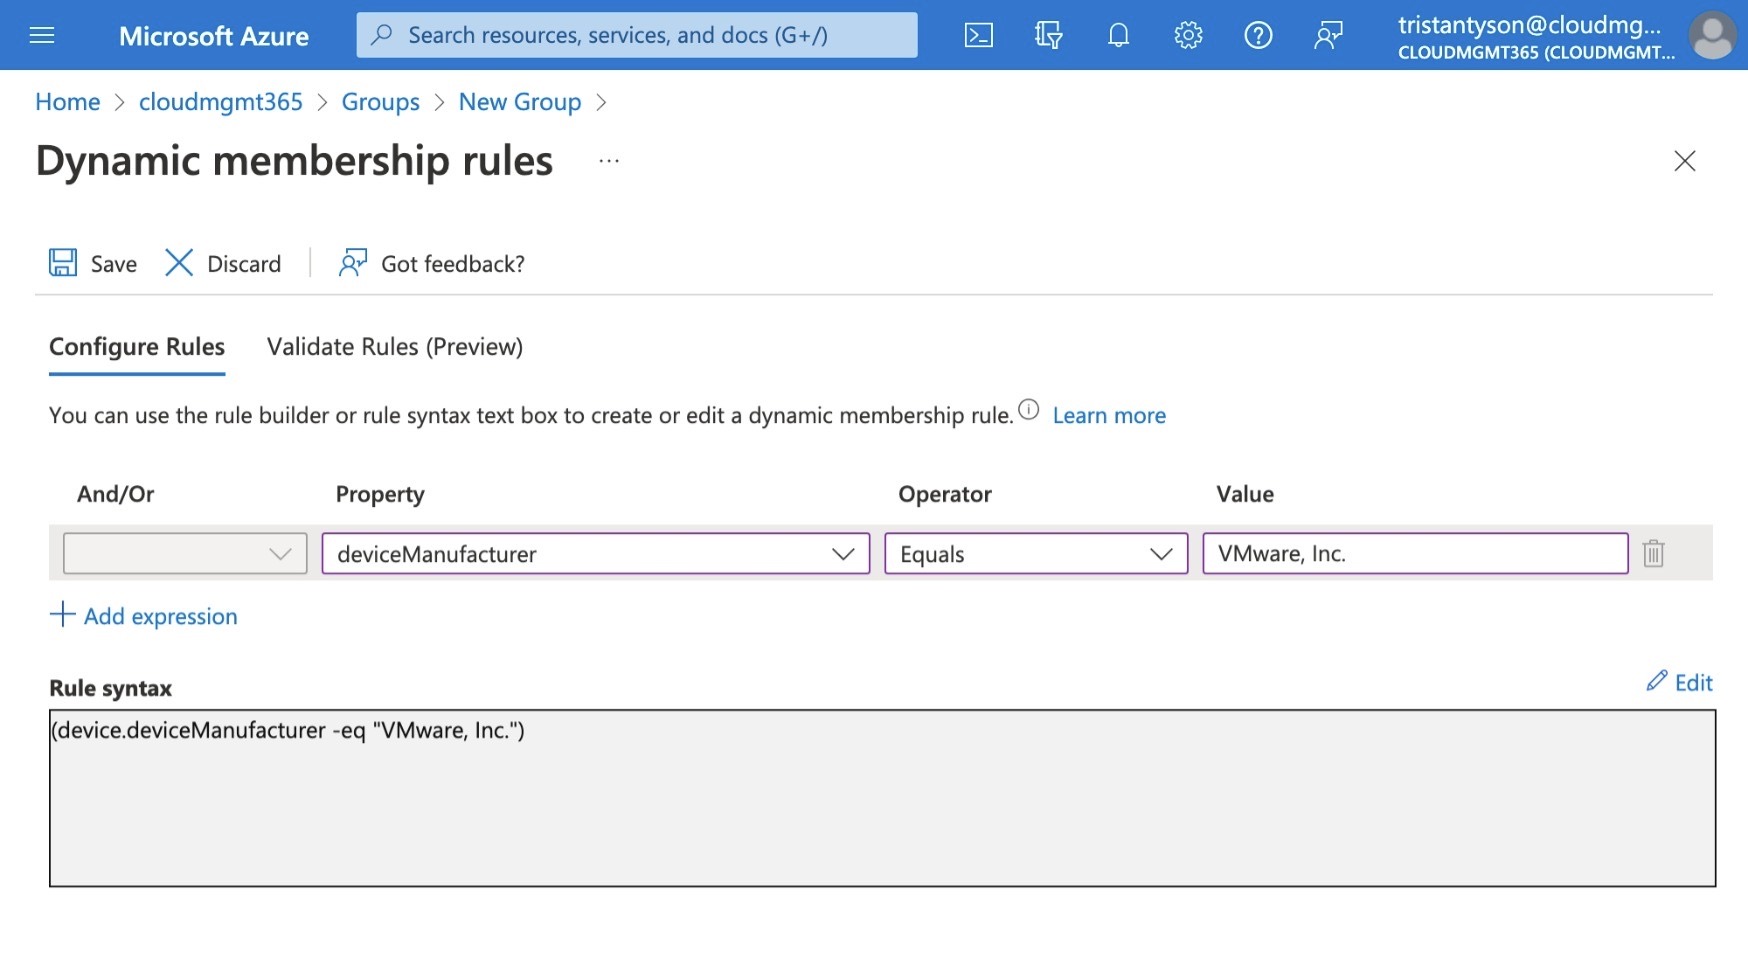
If you have an existing virtual machine registered in AzureAD already, you can validate the rule is correct by selecting Validate Rules (Preview), click Add Device. Now search for the device and click to select it, then press Select. You will then be shown if the device is a match against your rule or not.
Once validated, select Save at the top of the screen, then Create.
Obtain the installation files
If you know the version of the VMware Tools Agent that you require, then you can download it directly from the VMware Customer Connect website.
You can also grab the installation files from the mounted virtual disk that is available when you select Install VMware Tools from within the virtual machine setting in the hypervisor software.
More information on how to do this for each of the different VMware products can be found, here.
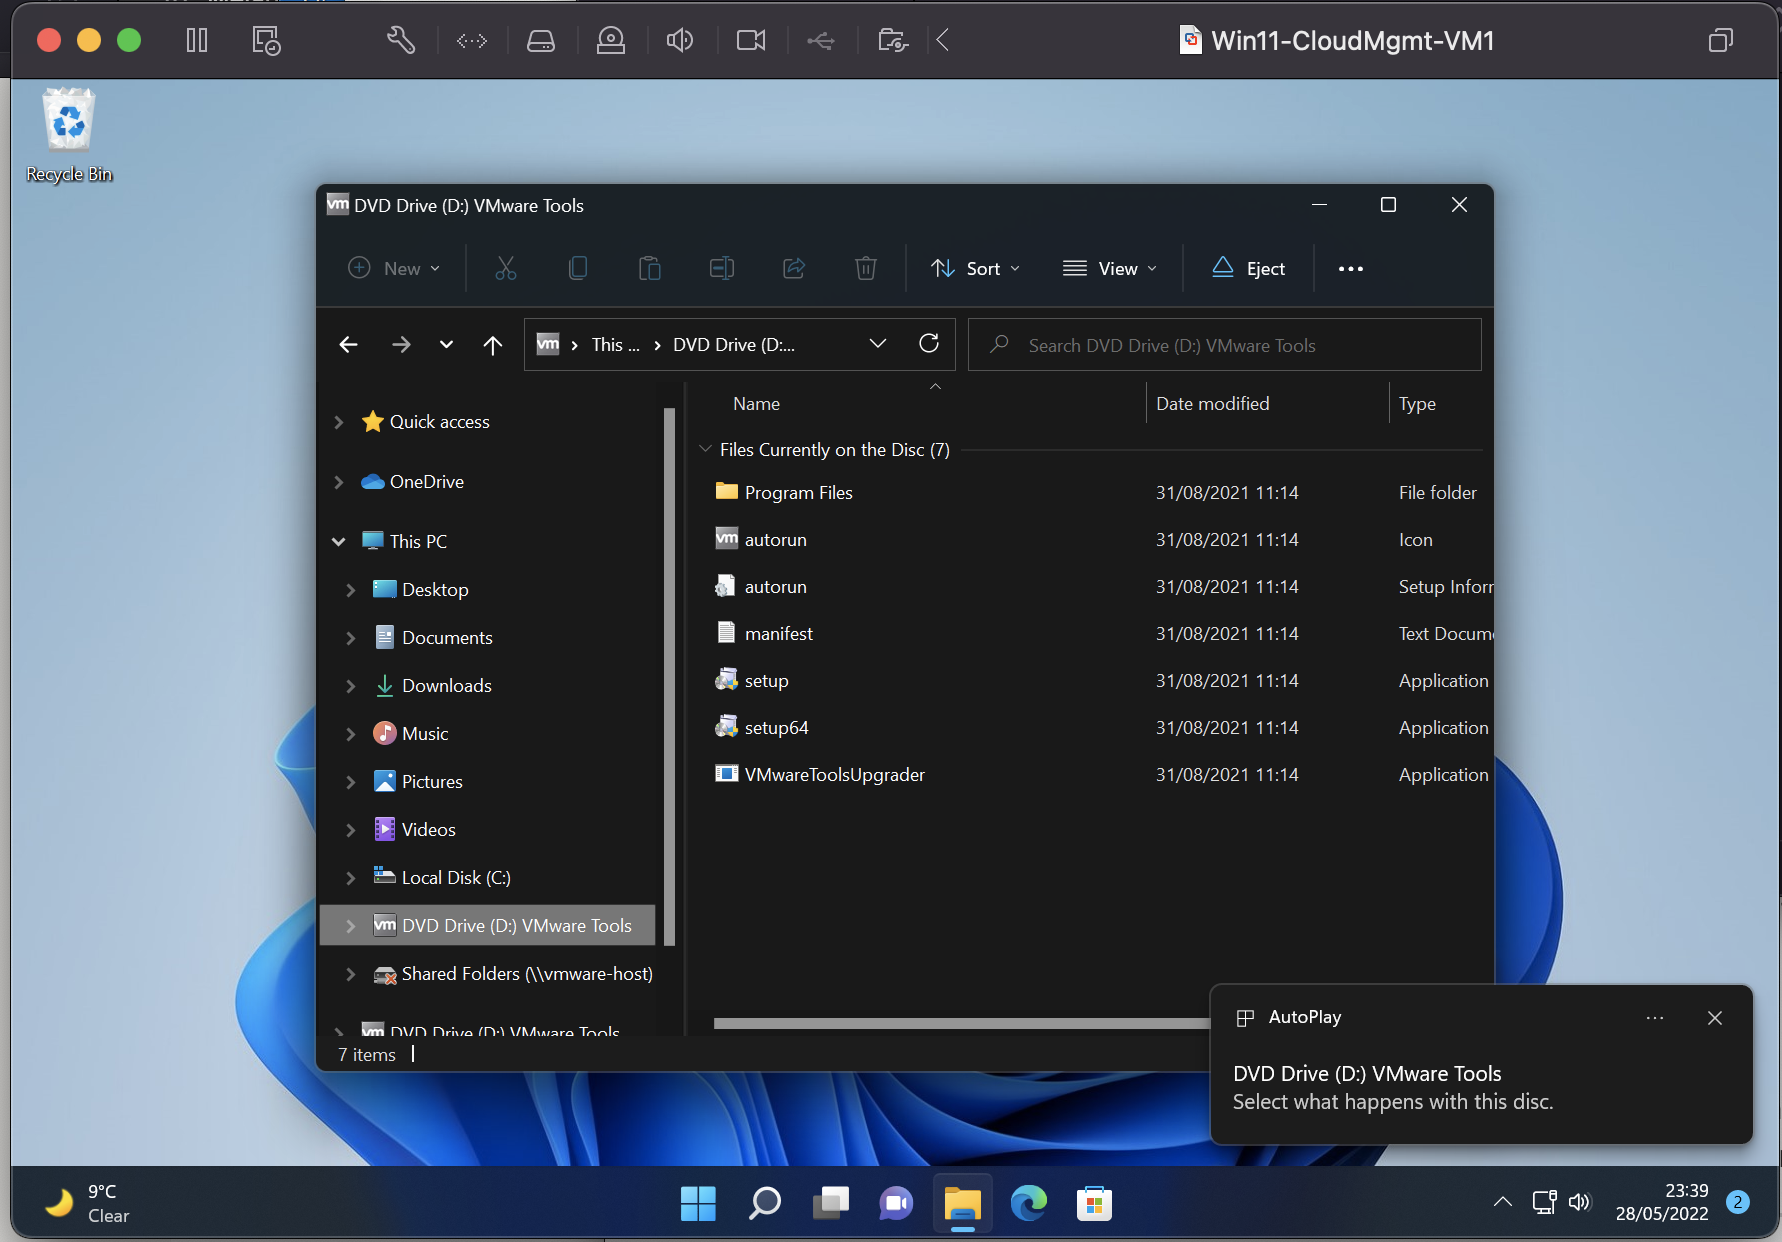
You will only need the setup64.exe (as long as you’re installing onto a 64bit OS) file.
Gather the required installation details
In order to create an Intune application, we need 3 pieces of information (minimum): install command, uninstall command, and detection method.
Understand the command line switch options
VMware offer a number of command line options to customise the installation of the VMware Tools agent.
To perform a complete, silent installation, with no component configuration, and no forced reboot, you can use the following command:
setup64.exe /S /v "/qn REBOOT=R"
If you want to remove certain components from the installation, you can pass through the ADDLOCAL=ALL and REMOVE=component MSI properties.
setup64.exe /S /v "/qn REBOOT=R ADDLOCAL=ALL REMOVE=component"
Replace component with the feature name listed below. To remove multiple components, comma separate each feature name.
| Feature Name | Description |
|---|---|
| CBHelper | Helper to install of Carbon black Sensor on a virtual machine. |
| Perfmon | Utility for WMI performance logging. Enables performance monitoring between the Guest SDK and the WMI environment. |
| VmwTimeProvider | Time provider for VMware virtual precision clock device. |
| AppDefense | The VMware AppDefense component performs Application Security Monitoring. VMware Appdefense consists of glxgi.sys, giappdef.sys kernel mode drivers and gisvc.exe user mode service. |
| FileIntrospection | The NSX File Introspection driver, vsepflt.sys is the first of the two guest introspection drivers. You can install it separately, without installing the NSX Network Introspection driver.Note:This component is dependent on the VMCI driver. |
| NetworkIntrospection | The NSX Network Introspection driver, vnetflt.sys is the second of the two guest introspection drivers.Note:This component is dependent on the VMCI driver.VMware Tools 10.2.5 supports vnetWFP driver for Windows 7 and later. |
| ServiceDiscovery | The Service Discovery component enables the discovery of various services running inside a virtual machine.Note:This user-mode component is dependent on the VMCI driver. |
| DeviceHelper | The VMware Device Helper component helps to perform a device check and swap in your virtual machine.Note:This user-mode component is dependent on the VMCI driver. |
| Hgfs | Hgfs is a VMware shared folders driver that allows files to be shared between your virtual machine and the host computer.You can use this driver, if you plan to use this virtual machine with VMware Workstation, Player, or Fusion.Note:If you exclude this feature, you cannot share a folder between your virtual machine and the host system.This component is dependent on the VMCI driver. |
| SVGA | The VMware SVGA driver enhances the performance of your virtual video card.Note:If you exclude this feature, it limits the display capabilities of your virtual machine. |
| VMXNet | The VMware VMXNet networking driver enhances the performance of your virtual network card. |
| VMXNet3 | The VMware VMXNet3 networking driver enahnces the performance of your virtual network card (ndis5/ndis6). This is the Next-generation VMware VMXnet networking driver for virtual machines that use virtual hardware version 7 and higher.For more information, see the VMware Knowledge Base article KB 1001805.VMXNET3 adds several new features, such as multiqueue support (also known as ‘Receive Side Scaling’ in Windows), IPv6 offloads, and MSI/MSI-X interrupt delivery.VMXNET 3 is not related to VMXNET or VMXNET 2.Receive Side Scaling is enabled by default.VMware Tools 10.3.0 adds receive data ring support for Windows VMXNET3 driver.Virtual hardware version 7 corresponds to ESX/ESXi 4.x compatibility. |
| PVSCSI | The VMware Paravirtual SCSI adapters enhances the performance of your paravirtual SCSI devices. |
| EFIFW | The EFIFW driver is used for EFI Firmware update. |
| MemCtl | The Memory Control Driver provides enahnced memory management of the virtual machine.You can use this driver, if you plan to use a virtual machine in the vSphere environment.Note:If you exclude this feature, it hinders the memory management capabilities of the virtual machine running in a vSphere environment. |
| Mouse | The VMware PS2 Mouse driver enhances the performance of your virtual PS2 mouse.Note:If you exclude this feature, the mouse performance of your virtual machine will decrease. |
| MouesUsb | The VMware USB Mouse Driver enhances performance of your USB mouse. |
| Audio | The Audio driver provides audio for your virtual sound card.Note:This Audio driver is for 64-bit Windows Vista and later operating systems. |
| VSS | The VSS driver is used for creating automatic backups. This driver is used, if the guest operating system is Windows Vista, Windows Server 2003, or other newer operating systems. Linux and older Windows operating systems use the Filesystem Sync driver. |
| BootCamp | The BootCamp driver provides Mac BootCamp support. |
Using the above table, we can create an install command which installs all components, apart from the ‘shared folders’ component:
setup.exe /S /v "/qn REBOOT=R ADDLOCAL=ALL REMOVE=Hgfs"
Always test your commands are working by running them manually, before moving on to packaging them.
Identify the uninstall string
The best way of identifying the uninstall string is to install the agent manually, then check the registry for the uninstall string.
Once installed, navigate to:
HKEY_LOCAL_MACHINE\Software\Microsoft\Windows\CurrentVersion\Uninstall
Check each GUID based key until you find one with a DisplayName entry of ‘VMware Tools’. In this key, there will be an entry with the name ‘UninstallString’. This is the value we want.
In my case it was as follows:
MsiExec.exe /I{1FF5D624-5515-4343-837A-E54C101573E6}
We now need to modify the string to make it a proper uninstall msiexec command, to make it run silently, and to supress the reboot.
The final uninstall string is as follows:
MsiExec.exe /x {1FF5D624-5515-4343-837A-E54C101573E6} /qn REBOOT=R
Identify the detection method
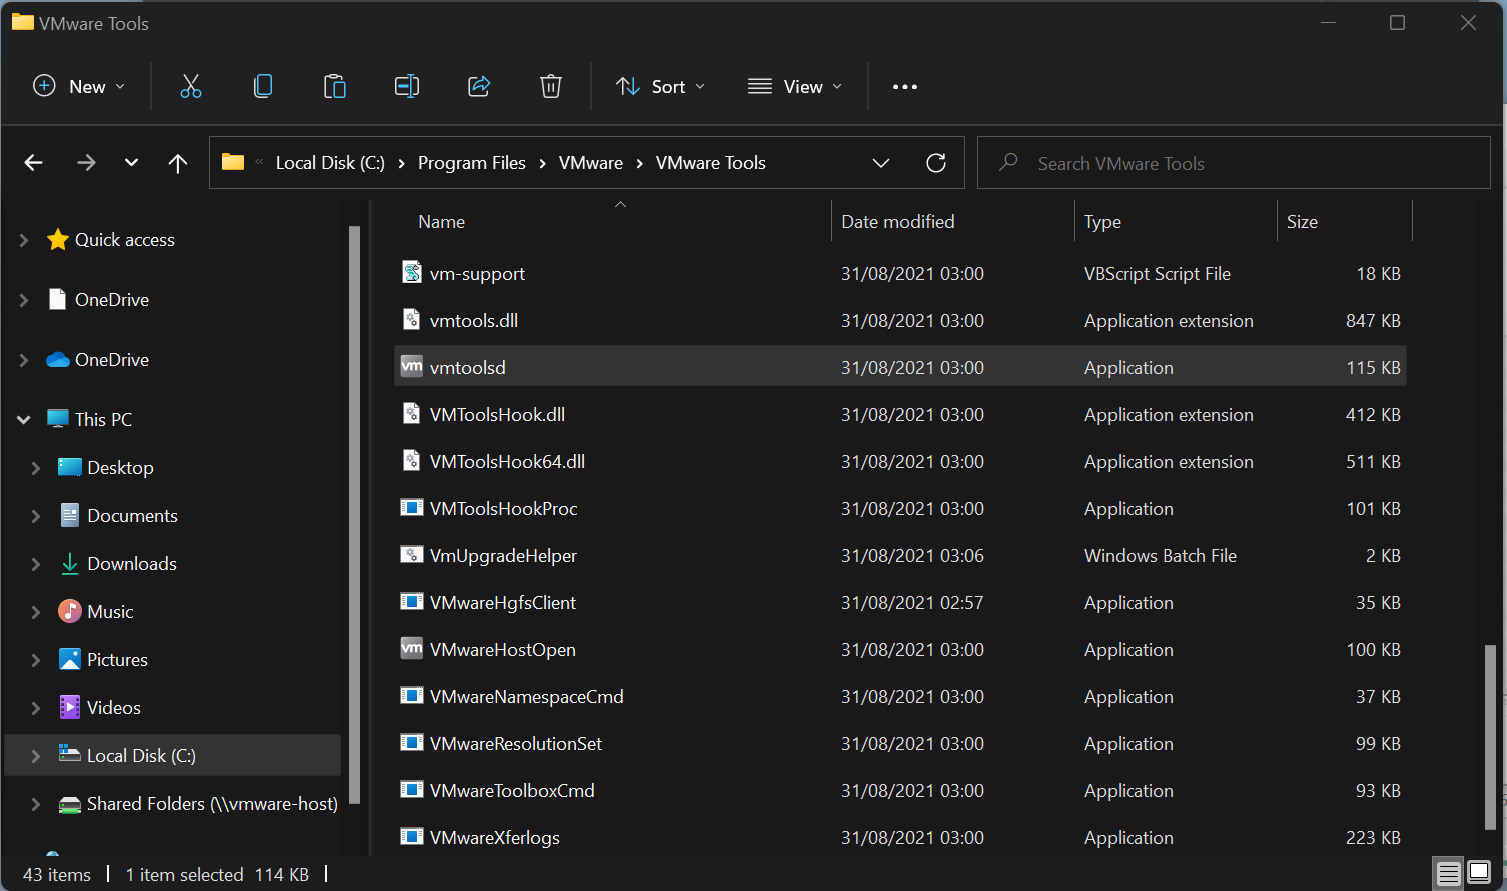
We know from the installer that VMware Tools installs into C:\Program Files\VMware\VMware Tools.
We can use the vmtoold.exe file here as the target for the detection rule.
%ProgramFiles%\VMWare\VMWare Tools\vmtoolsd.exe
Package the application in Endpoint Manager/Intune
The only thing left to do is put everything together in Intune and deploy it to our newly created group.
Convert the installation media to a .intunewin file
Before you can add a Win32 app to Intune, you must prepare the app using the Microsoft Win32 Content Prep Tool.
Download the latest version of the prep tool and extract it into your directory of choice. I like to create two additional folders in file structure called Input and Output.
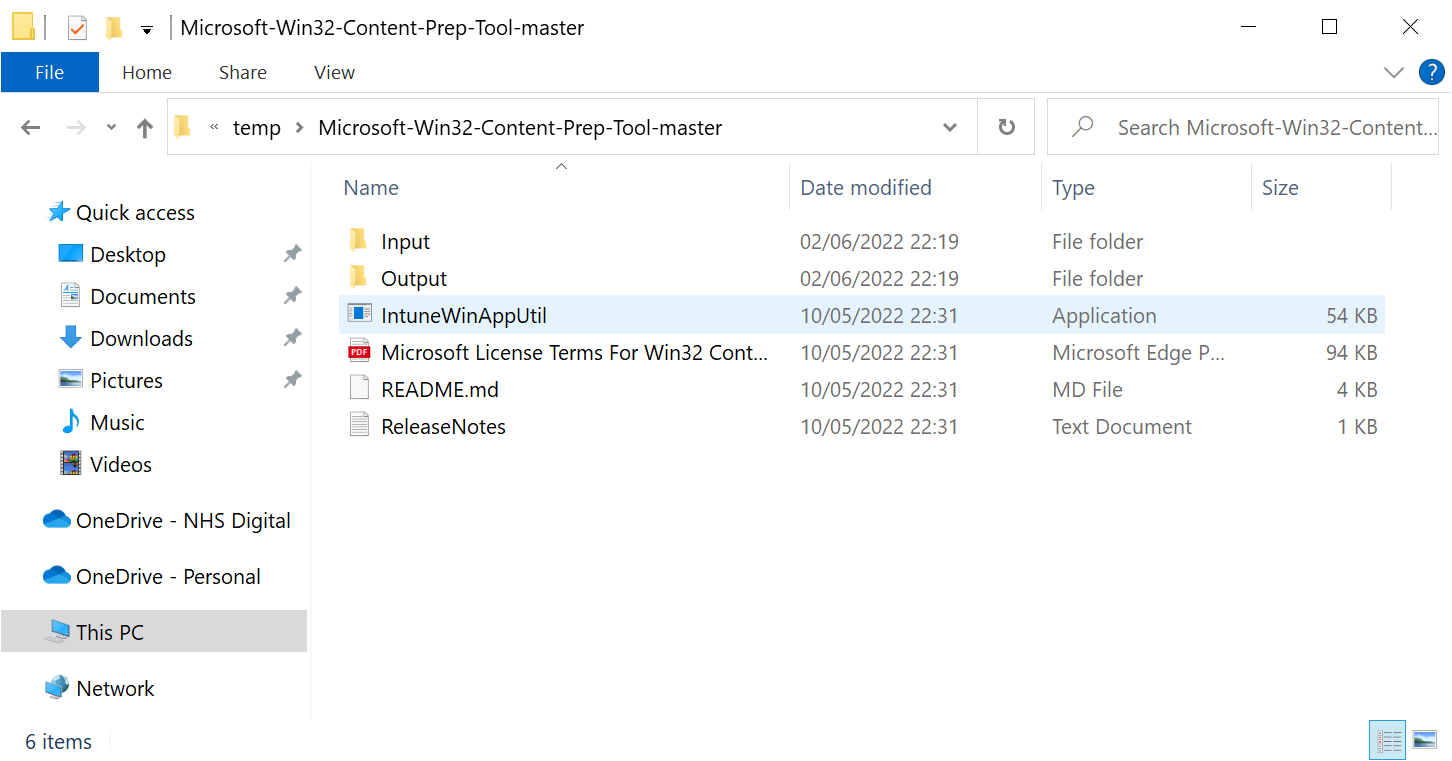
Copy your installation files into the input folder then launch the IntuneWinAppUtil application. Enter the following information:
Please specify the source folder: Input
Please specify the setup file: Setup64.exe
Please specify the output folder: Output
Do you want to specify catalog folder (Y/N): N
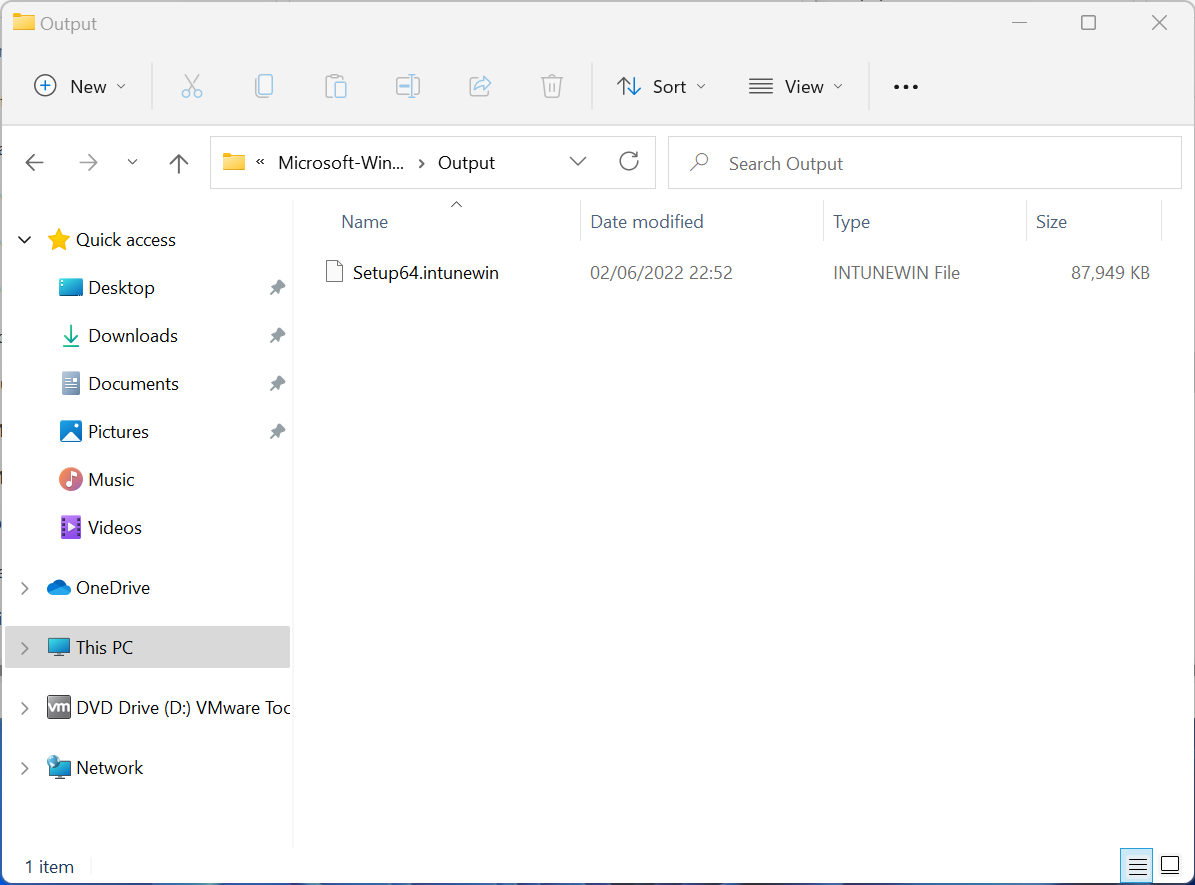
The prep tool will output an .intunewin file in the output folder.
Create the application in Endpoint Manager/Intune.
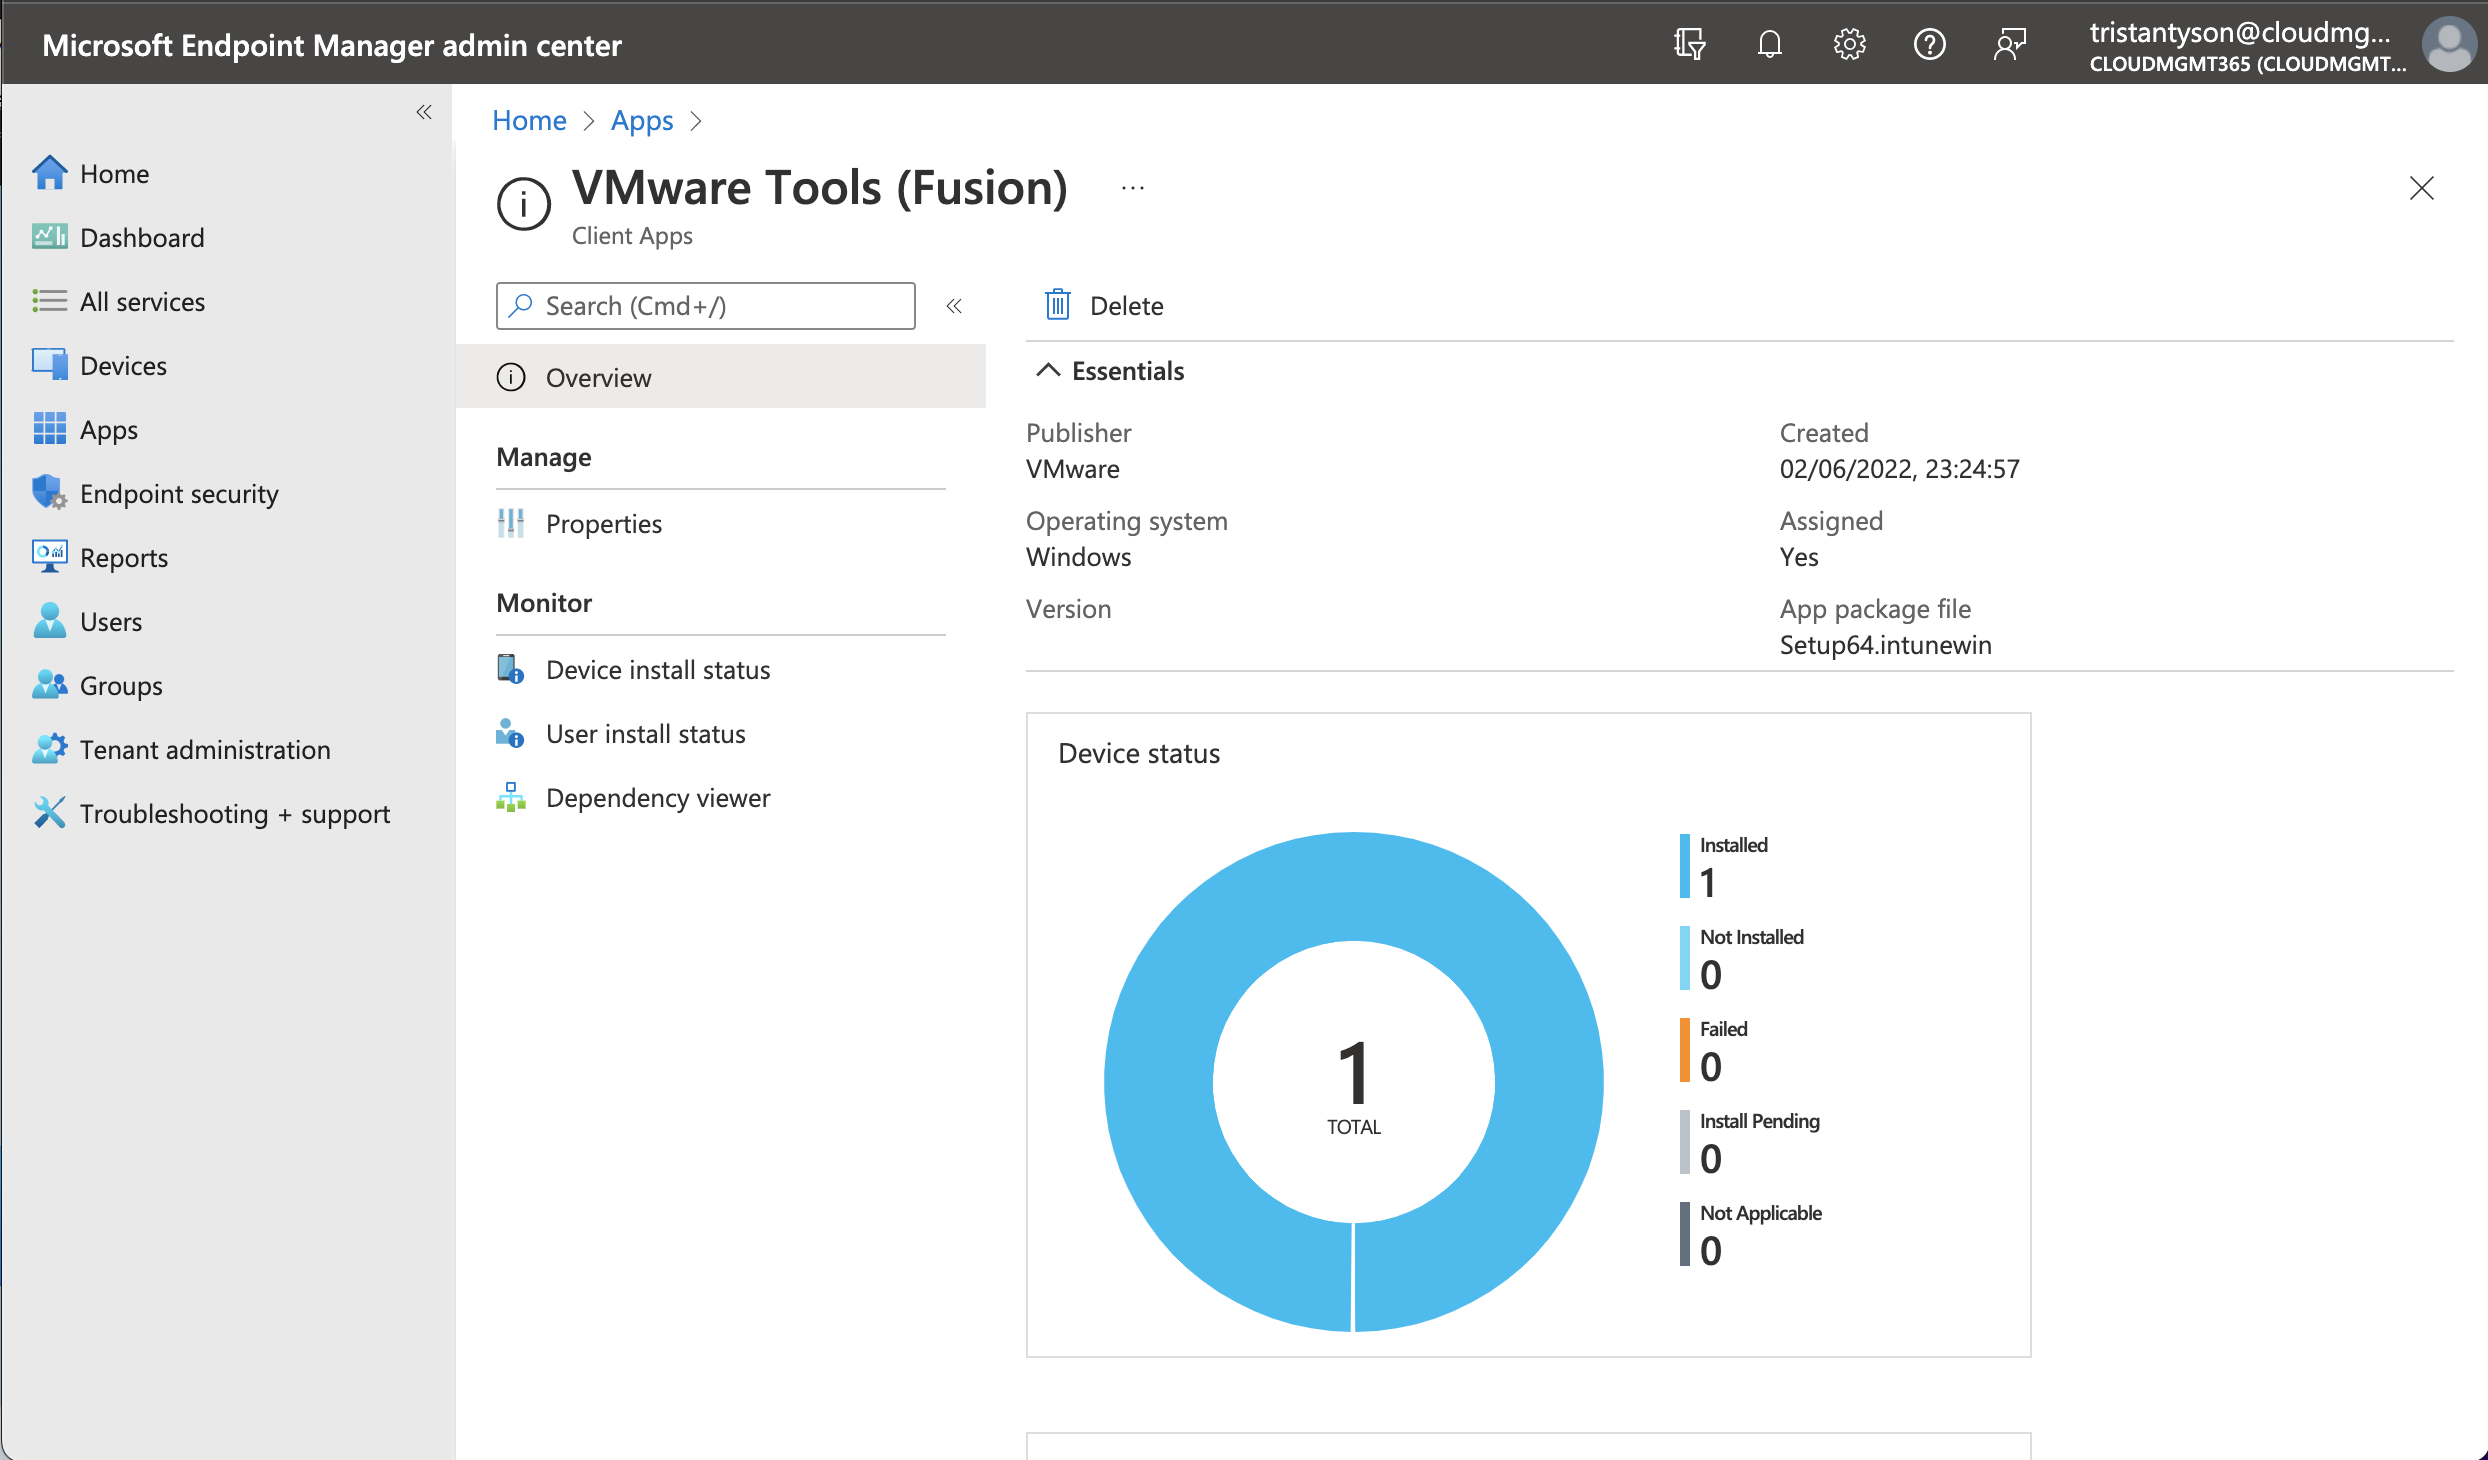
Log into the Endpoint Manager Portal and navigate to Apps, then All Apps, select Add, then Windows app (win32), then press Select.
Under the App Information page, click select app package file, and upload the .intunewin file we created in the last stage. This will pre-populate the application information. Edit each field with the relevant information to your app and select next.
Under the Program page, enter the following:
Install command:
setup64.exe /s /v "/qn REBOOT=R ADDLOCAL=ALL REMOVE=Hgfs”*
Uninstall command:
MsiExec.exe /x {1FF5D624-5515-4343-837A-E54C101573E6} /qn REBOOT=R*
Install behavior: System.
Select Next.
Under the Requirements page, there are two mandatory fields to set, the Operating system architecture, and the Minimum operating system version. Configure these and any others to the relevant settings for your application and environment.
Under the Detection Rule page, for Rule format select Manually configure detection rule from the drop down. Click +Add button then fill out the fields on the fly out.
Rule type: File.
Path: %ProgramFiles%\VMWare\VMWare Tools\
File or folder: vmtoolsd.exe
Detection method: Files or folder exists.
Associated with a 32-bit app on 64-bit clients: No.
Leave the defaults on the dependencies and supersedence pages.
On the Assignments page, under Required, select +Add group, then search for and select the ‘All VMware Virtual Machines’ group we created earlier, press Select then Next.
Review the Summery page and once happy select create.
Conclusion
You have now successfully created and deployed the VMware Tools Agent to all VMware based virtual machines enrolled into your environment. The application will be included in any further Autopilot deployments on VMware hypervisors, so you can take advantage of all the virtual machine’s functionality as soon as it is provisioned.